A non-scientific comparison between the Sony a7(m) and the Leica M Monochrome
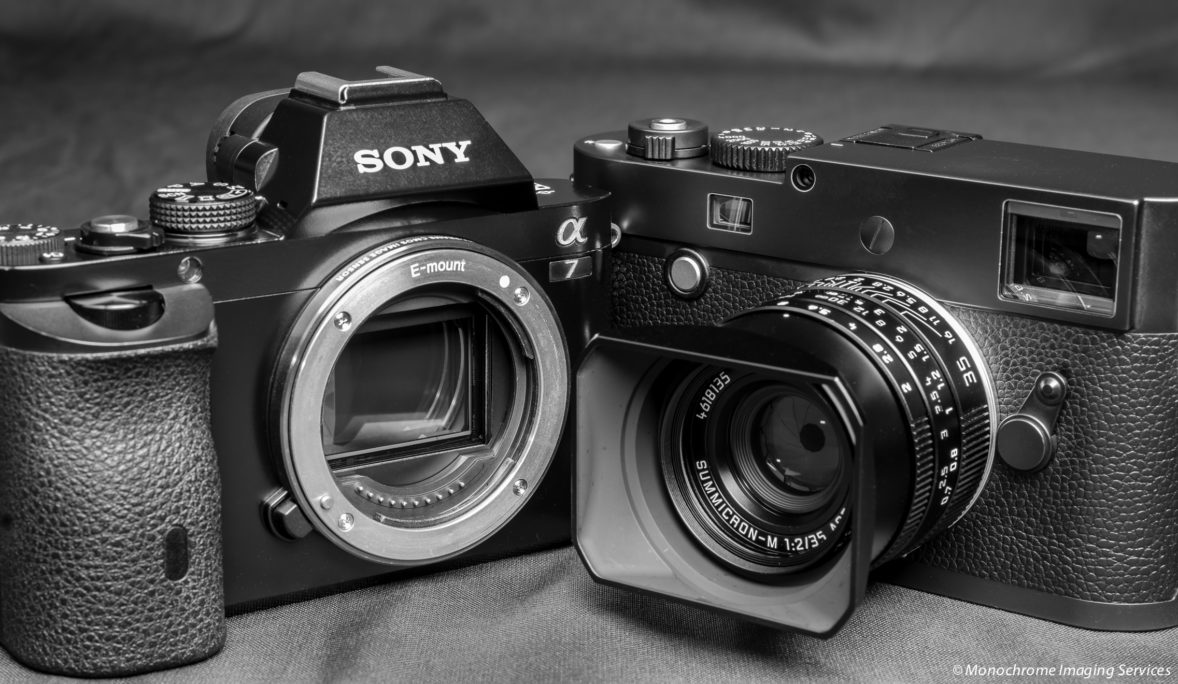
The purpose of this comparison is to determine if a monochrome converted Sony a7 is comparable at producing B&W images as is the Leica M Monochrome. The two cameras have the same size sensor and pixel count, and this is why I chose the a7(m) to compare with the Leica. I wanted to show (and see for myself) the differences, if any, between the two sensors as to output quality. Since each camera uses its own image processor, I expect there to be some differences with respect to the overall look of the images. But those can be mitigated using post processing to achieve similar looks, if not identical.
What this Comparison is Not:
This is not a comparison of how the two cameras feel as a tool in the hand during shooting–there are too may opinions already on that subject. Also, this comparison is not a scientific study; there are no lens test charts with relative numbers between the two cameras. And given the two have different image processors, it is assured that there will be some differences in that respect. But can the Sony compete with the Leica’s image quality given the camera cost a mere fraction of the Leica? Are the images produced from the converted Sony close enough to the Leica’s to consider them on par with each other? And if the Leica is better, by how much? and is it enough to warrant the extra cost? Judge for yourself.
The Setup:
The settings for each camera were set up as similar as possible. I turned off most every internal processing algorithm that I could turn off, and set the others to their minimum setting. ISO and lens aperture were kept constant during the test, and only one lens was used for every image taken: Leica’s 1:2/35mm Summicron-M Aspherical*. The lens adaptor used was the Voigtlander Leica-M to Sony E-Mount. Exposure bracketing was accomplished through shutter speed. All images were imported into Lightroom and were exposure corrected to give similar results between the two images. Both cameras were set to their base ISO for most of the shots, and noted otherwise when not. All images were given the same amount of sharpening, and I tried to equalize the histograms between the two images. The Sony had its IR cut filter in place, and was not a full spectrum converted body, to mimic the Leica.
The Images:
Click on any image to expand it to 1:1–if your cursor has a + symbol after clicking the image, click again to achieve 100%.
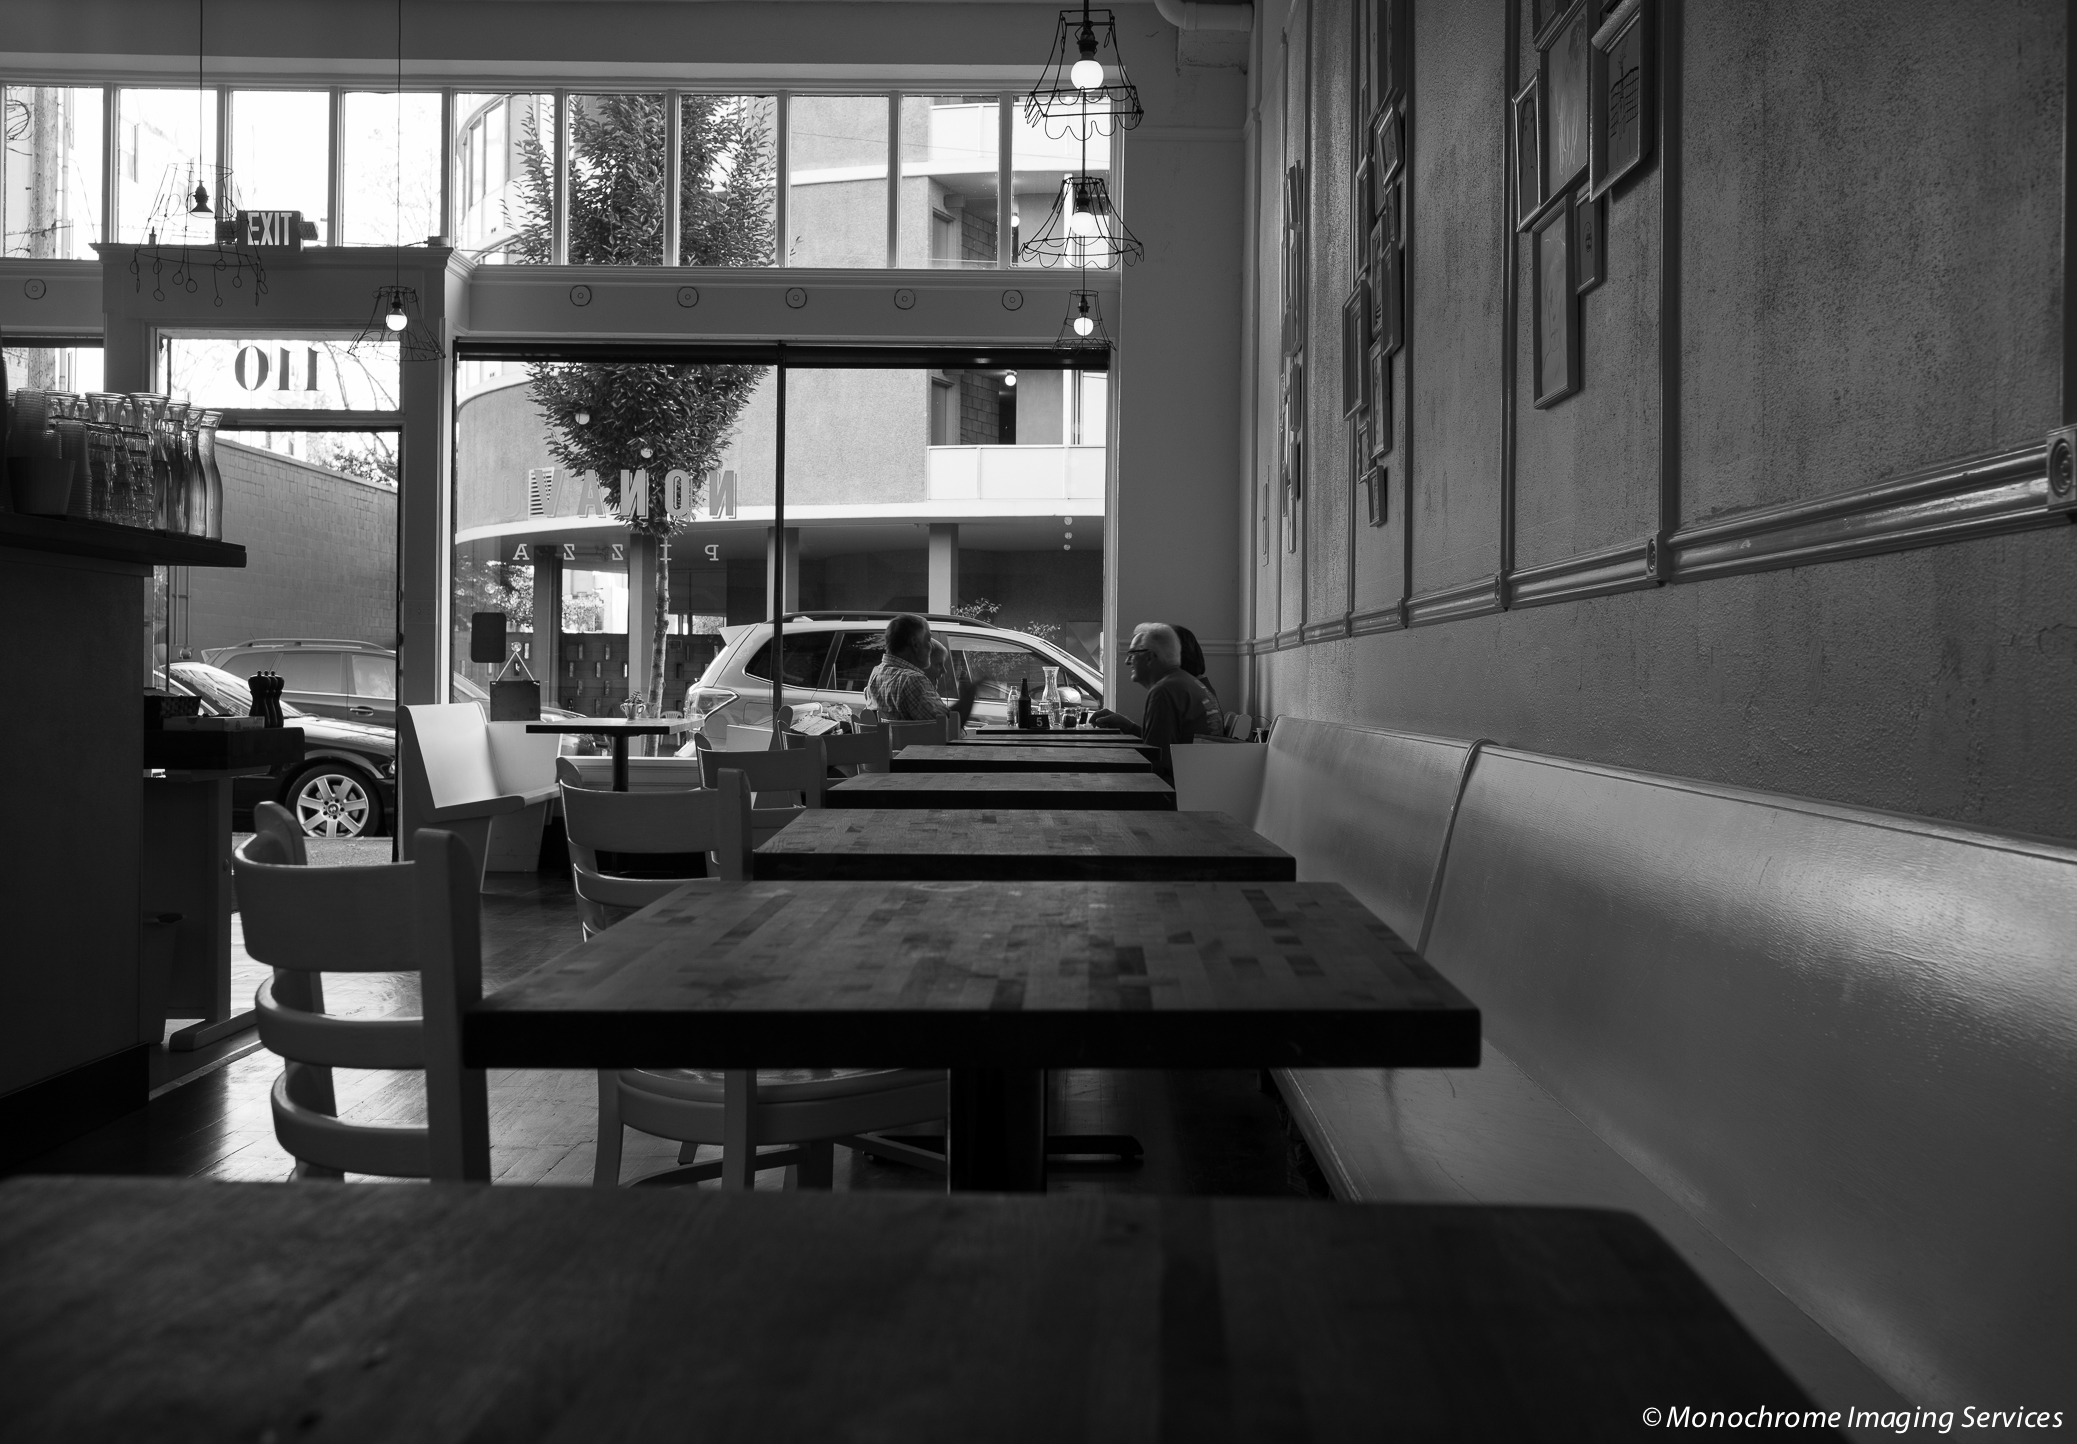
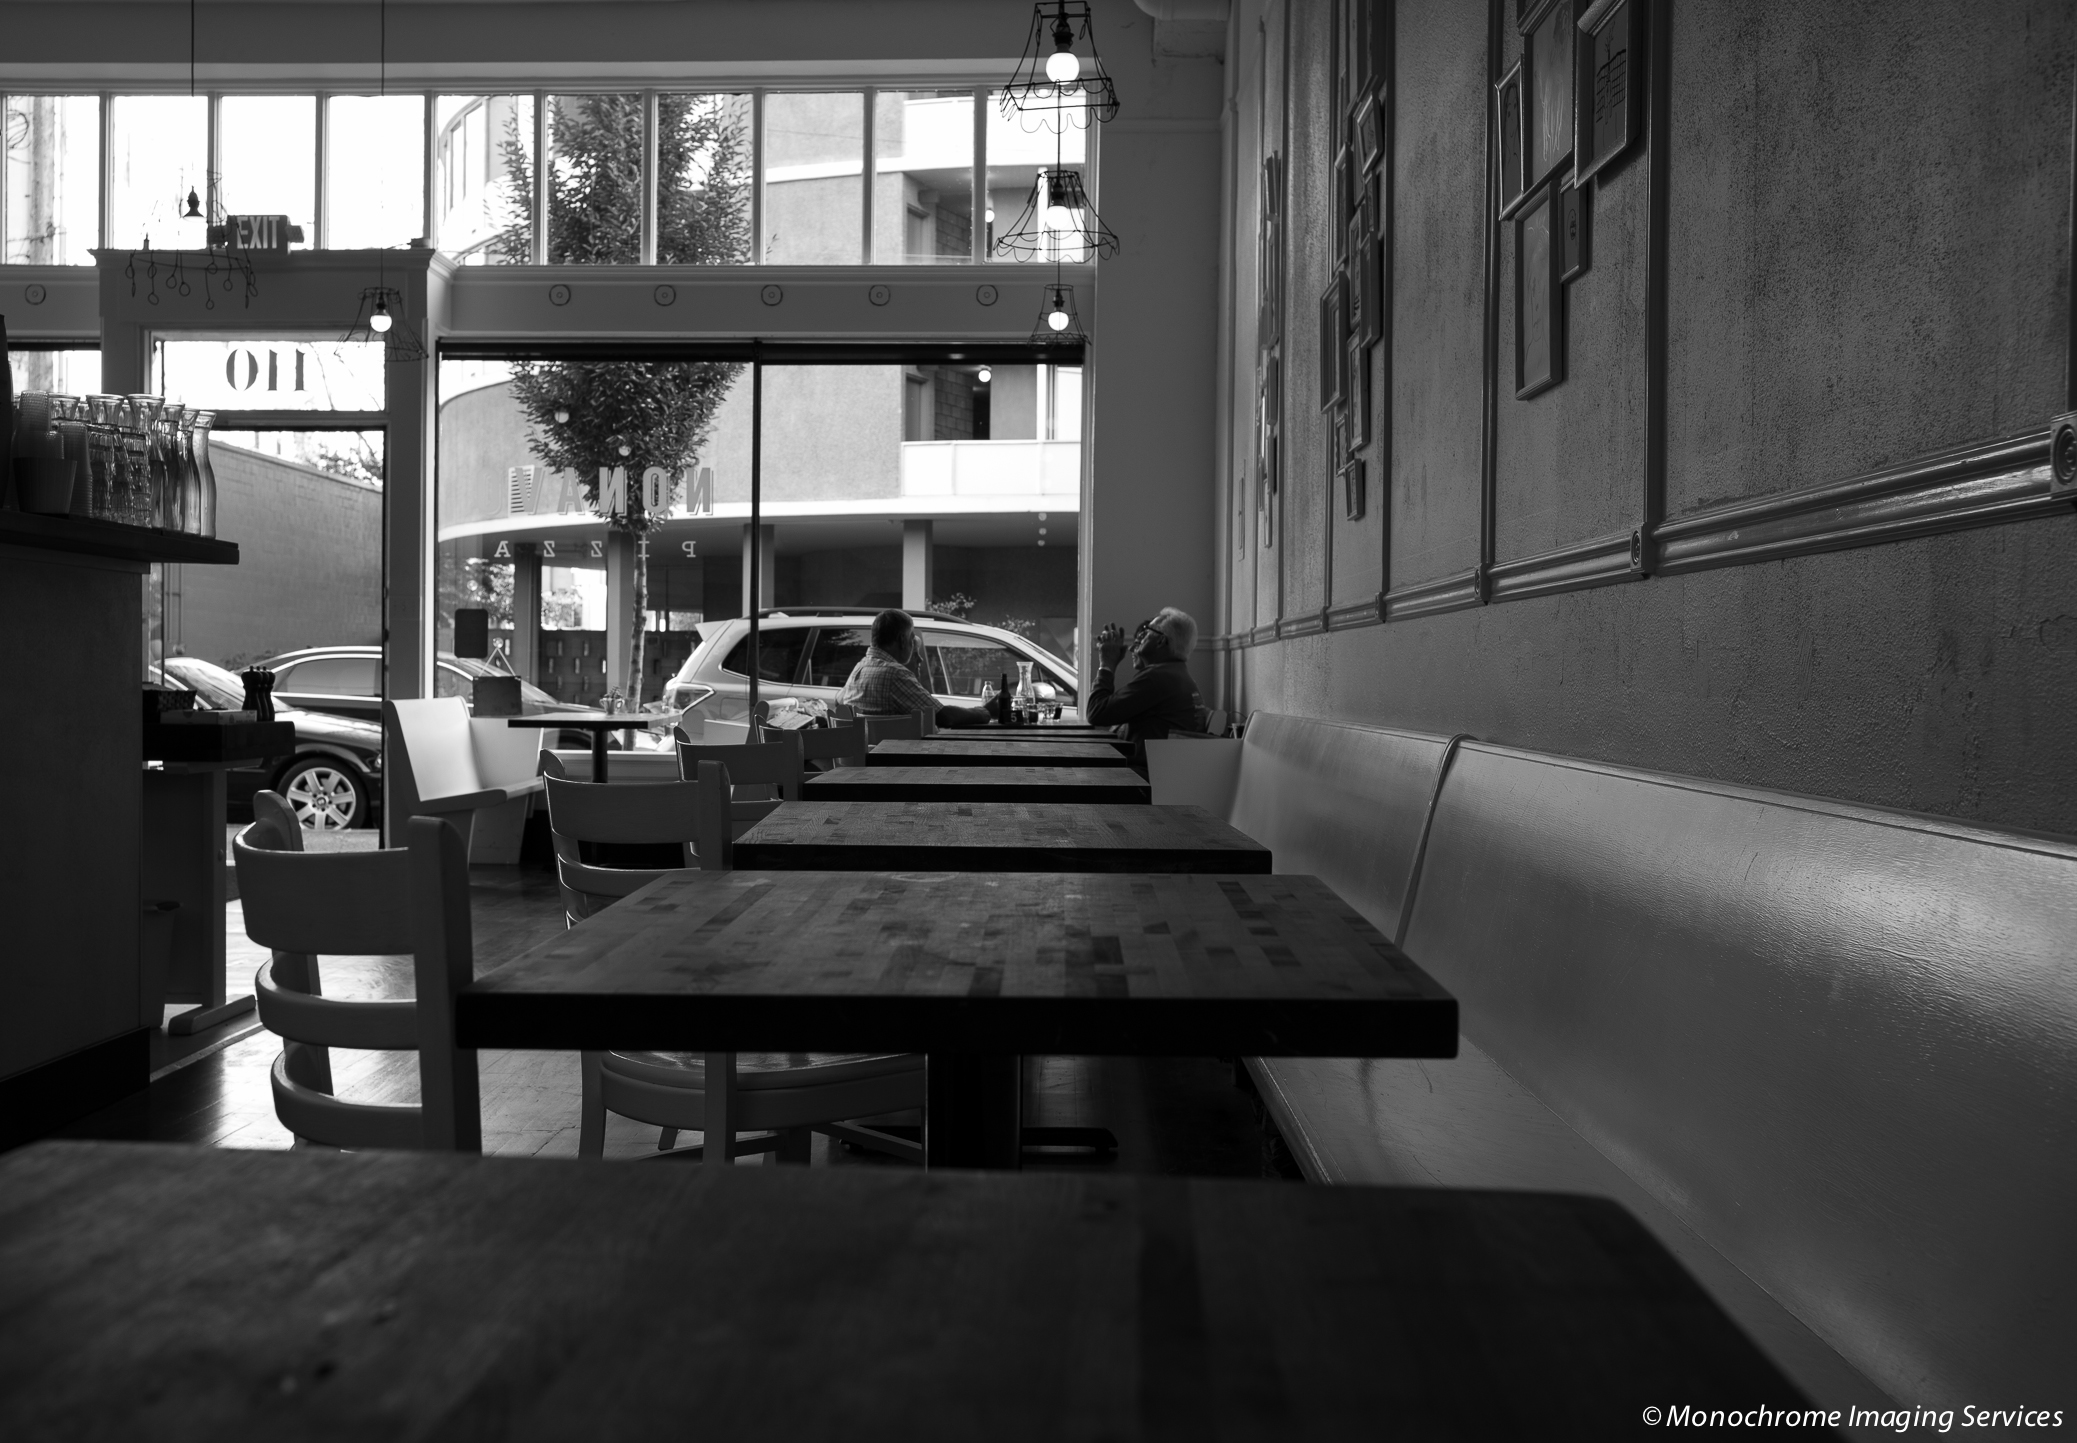
This interior was poorly lit, mid day and overcast. I used no fill light, just ambient light coming in through the windows, and what little that the lighting fixtures provided.
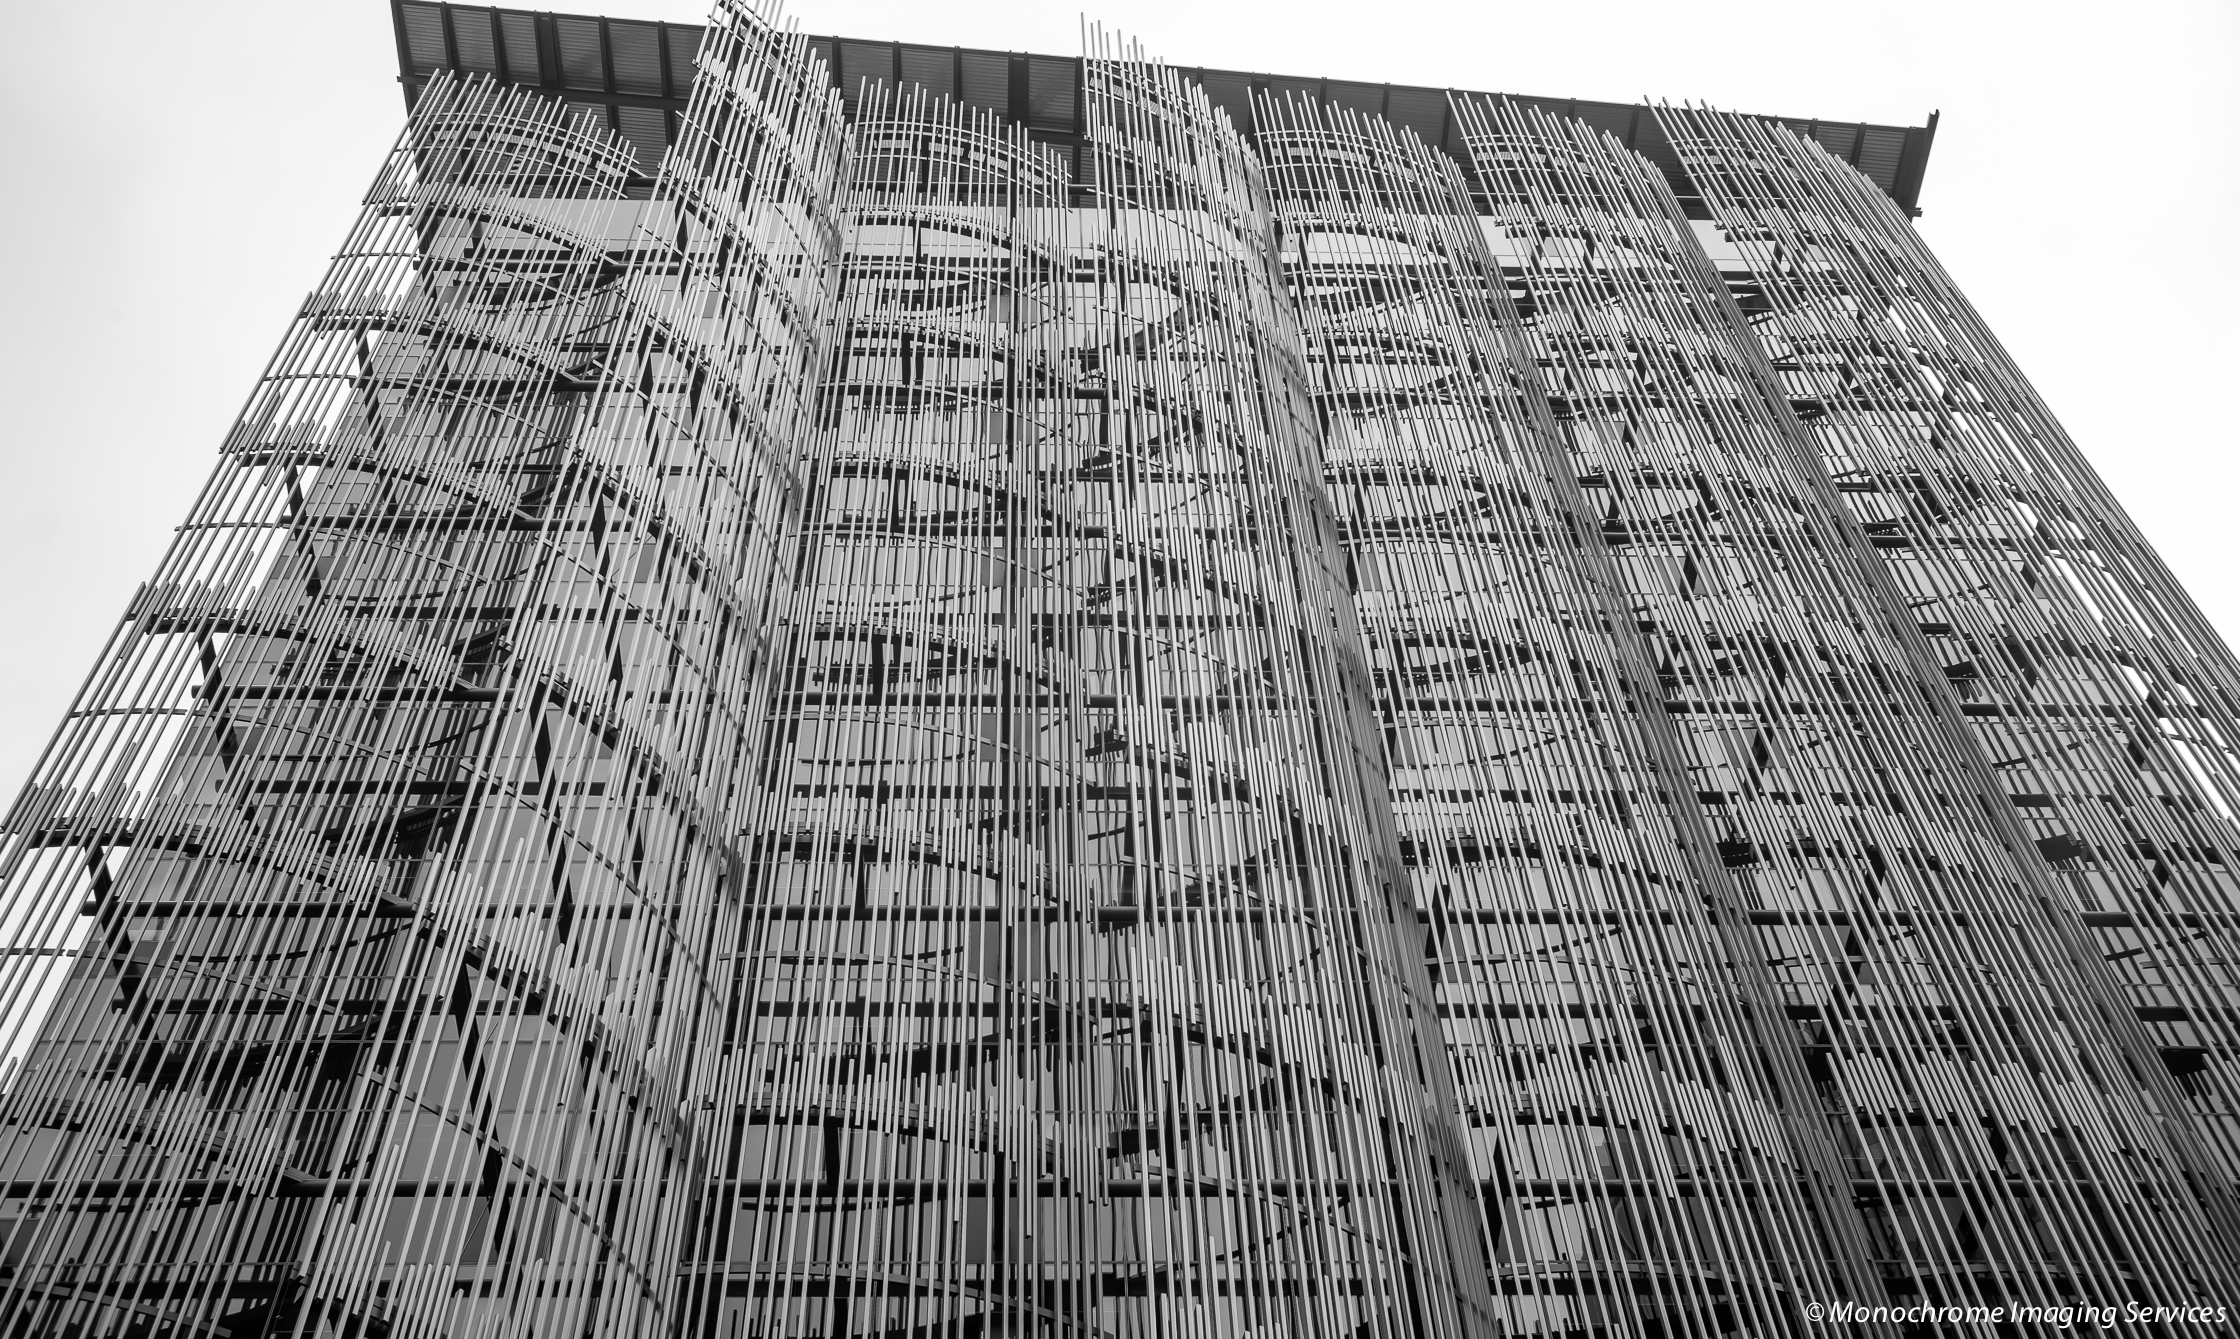
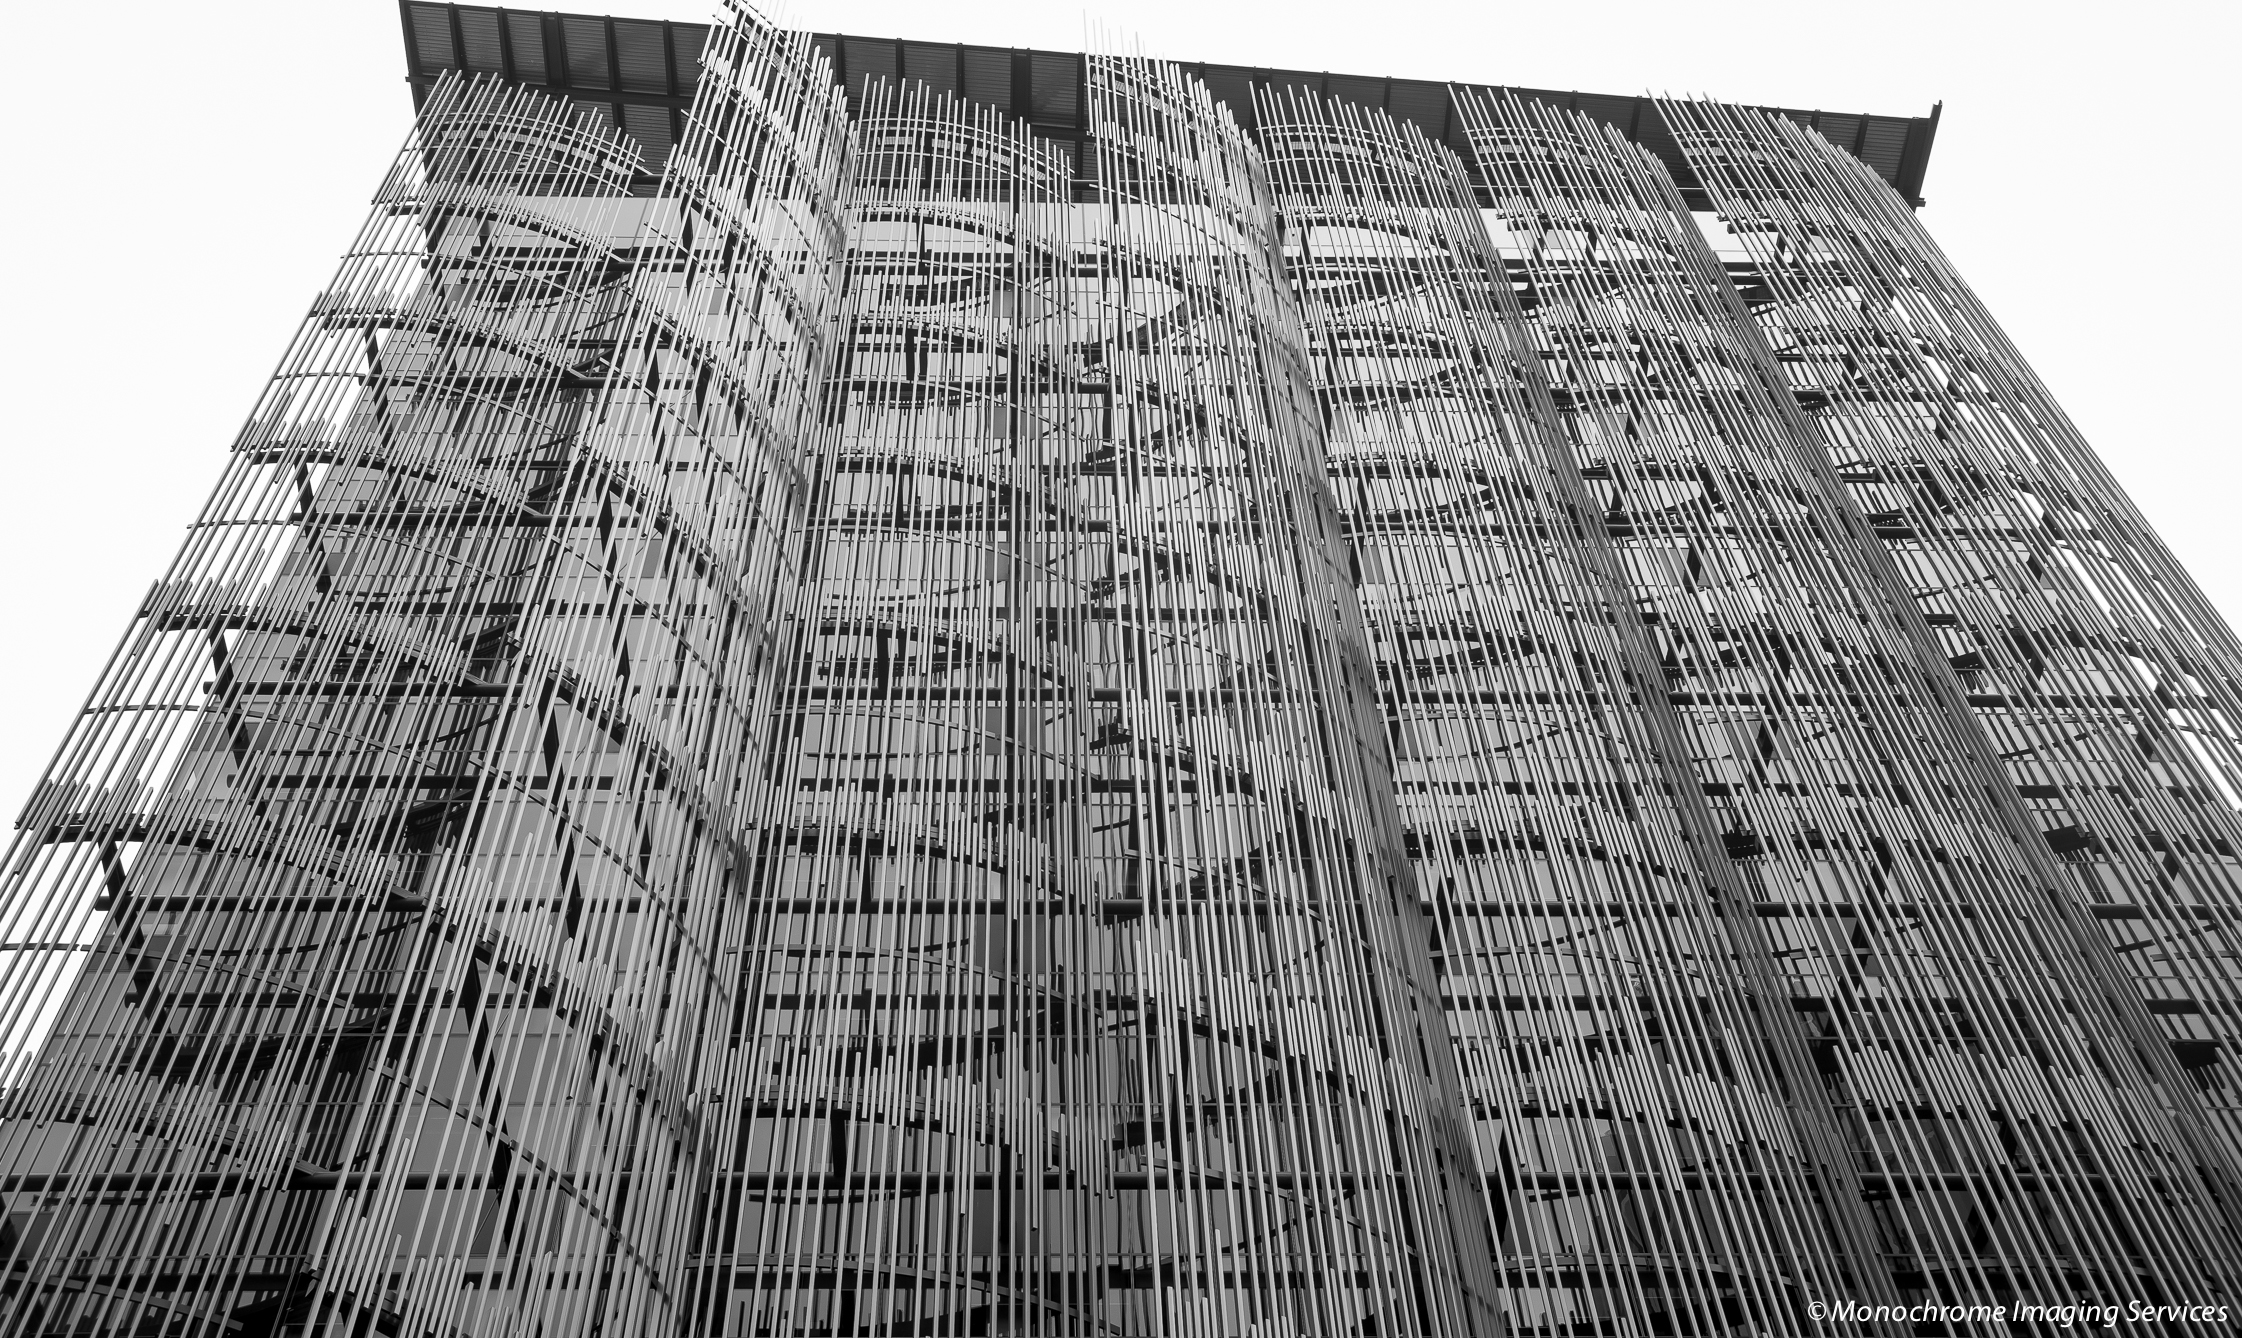
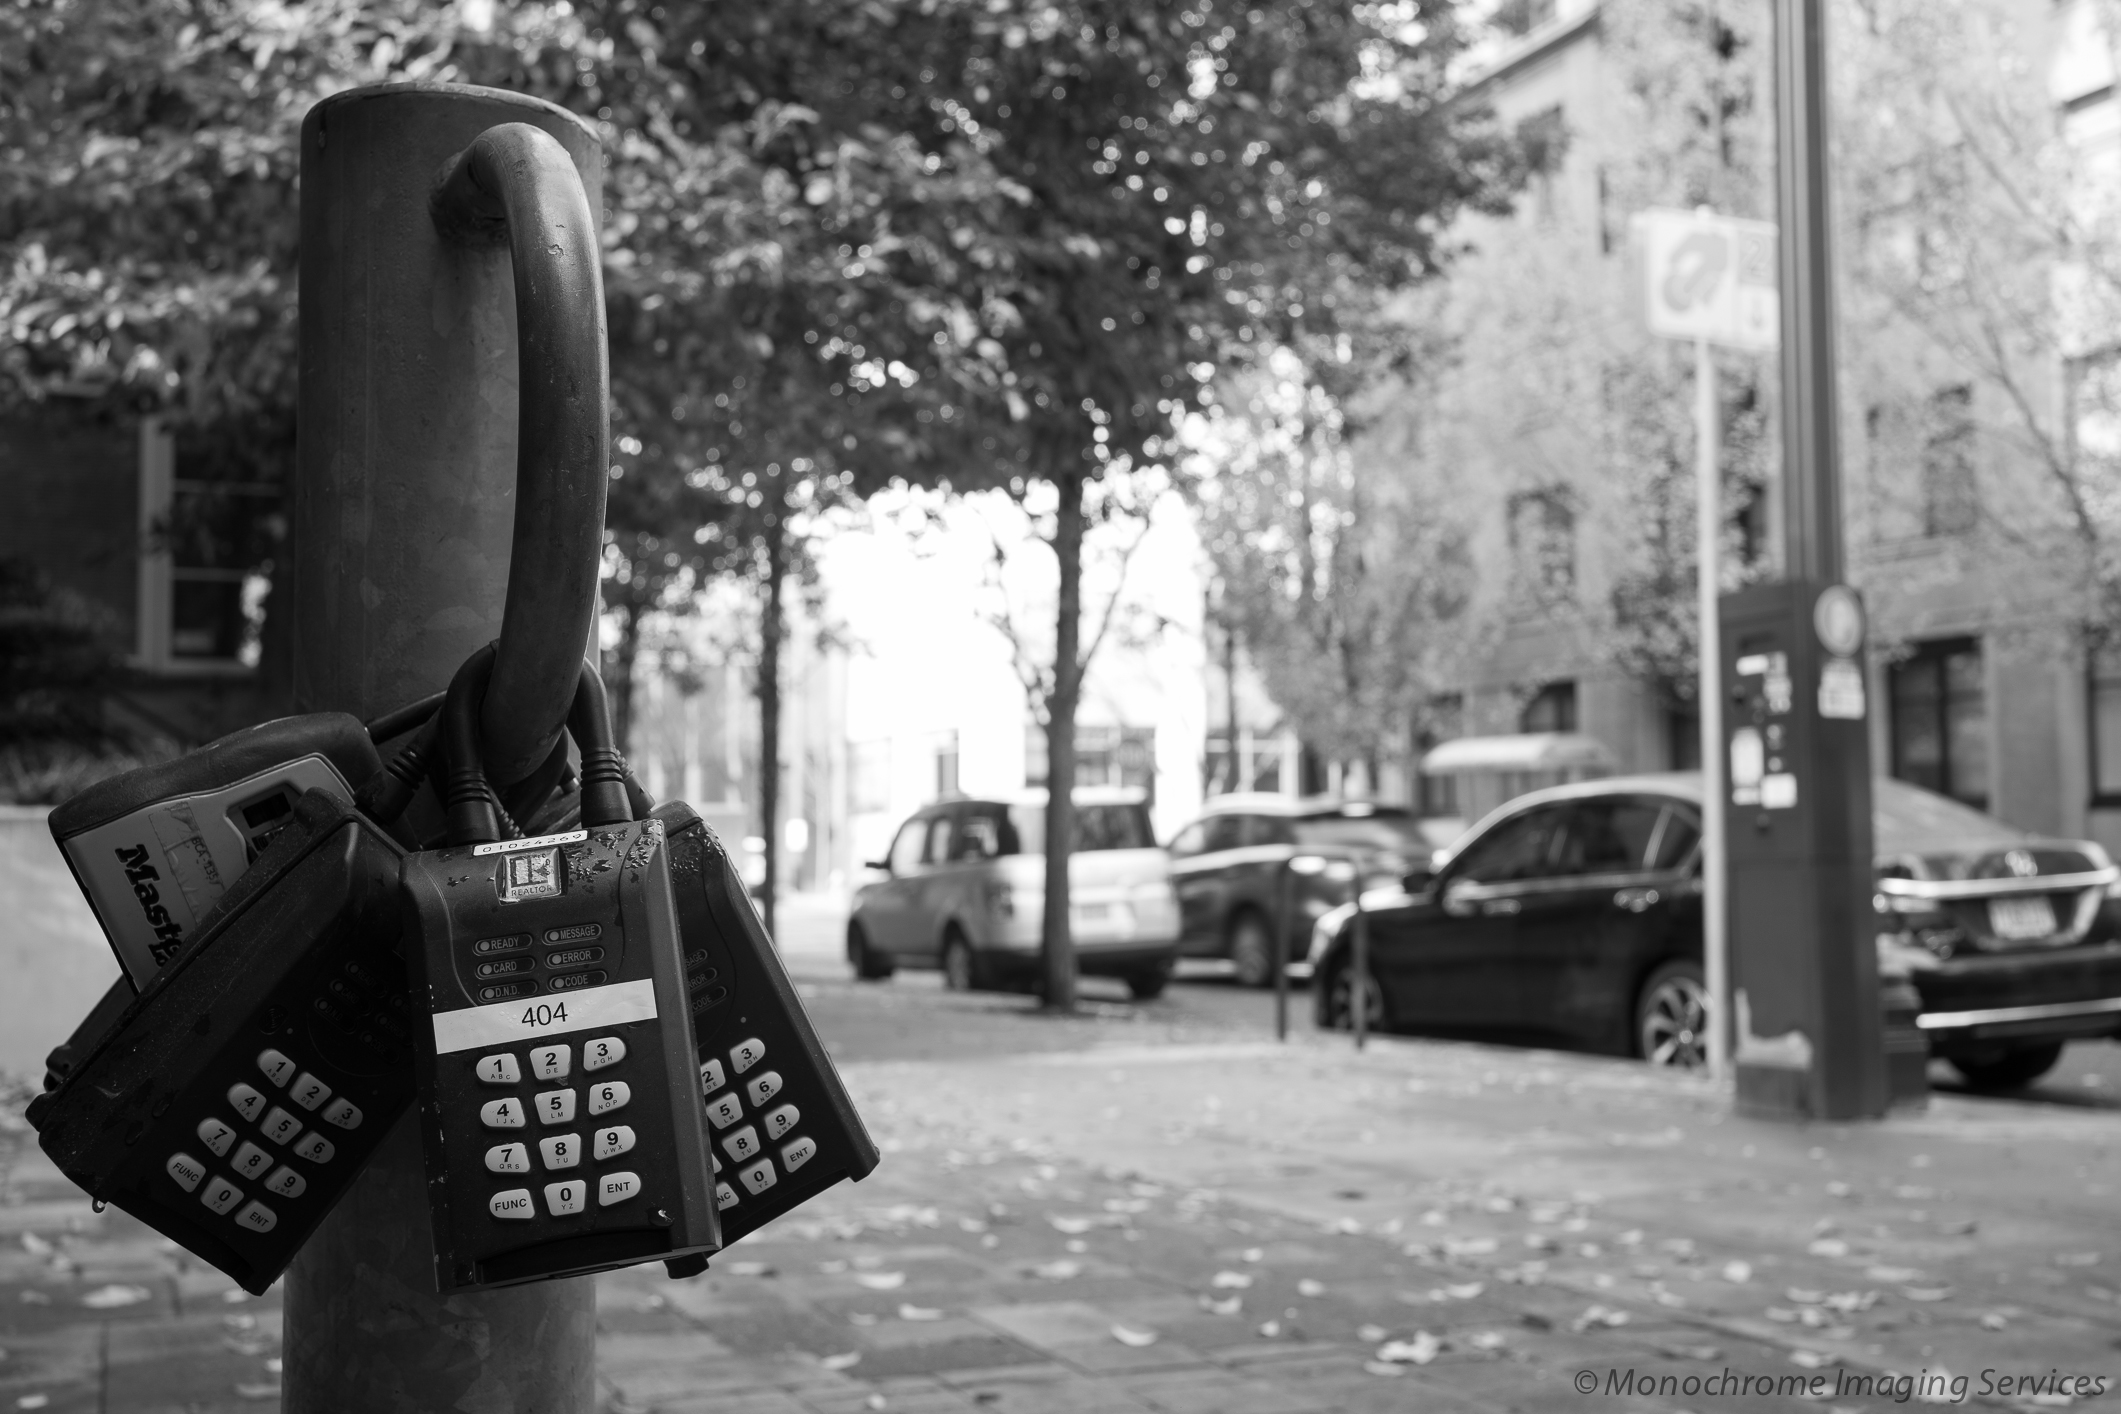
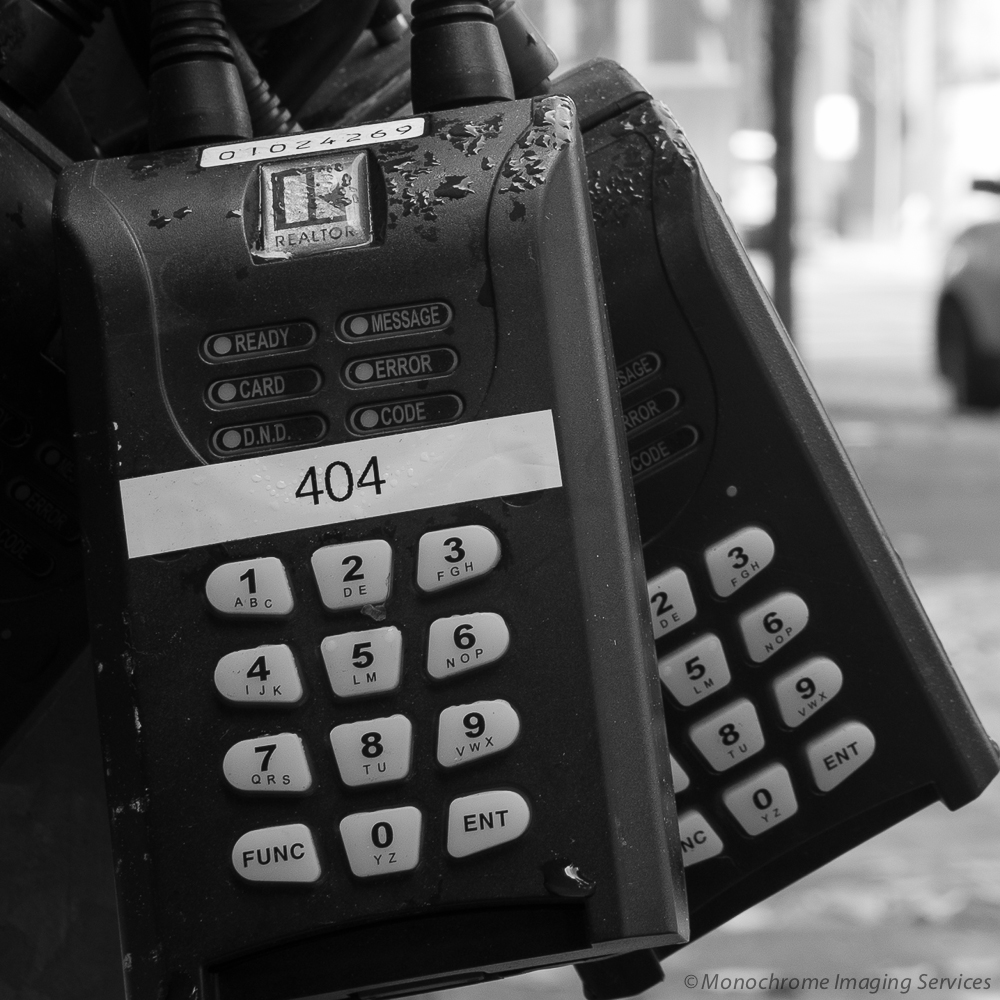
Interesting building architecture. I thought that this image would serve to show how details were captured by the two sensors.
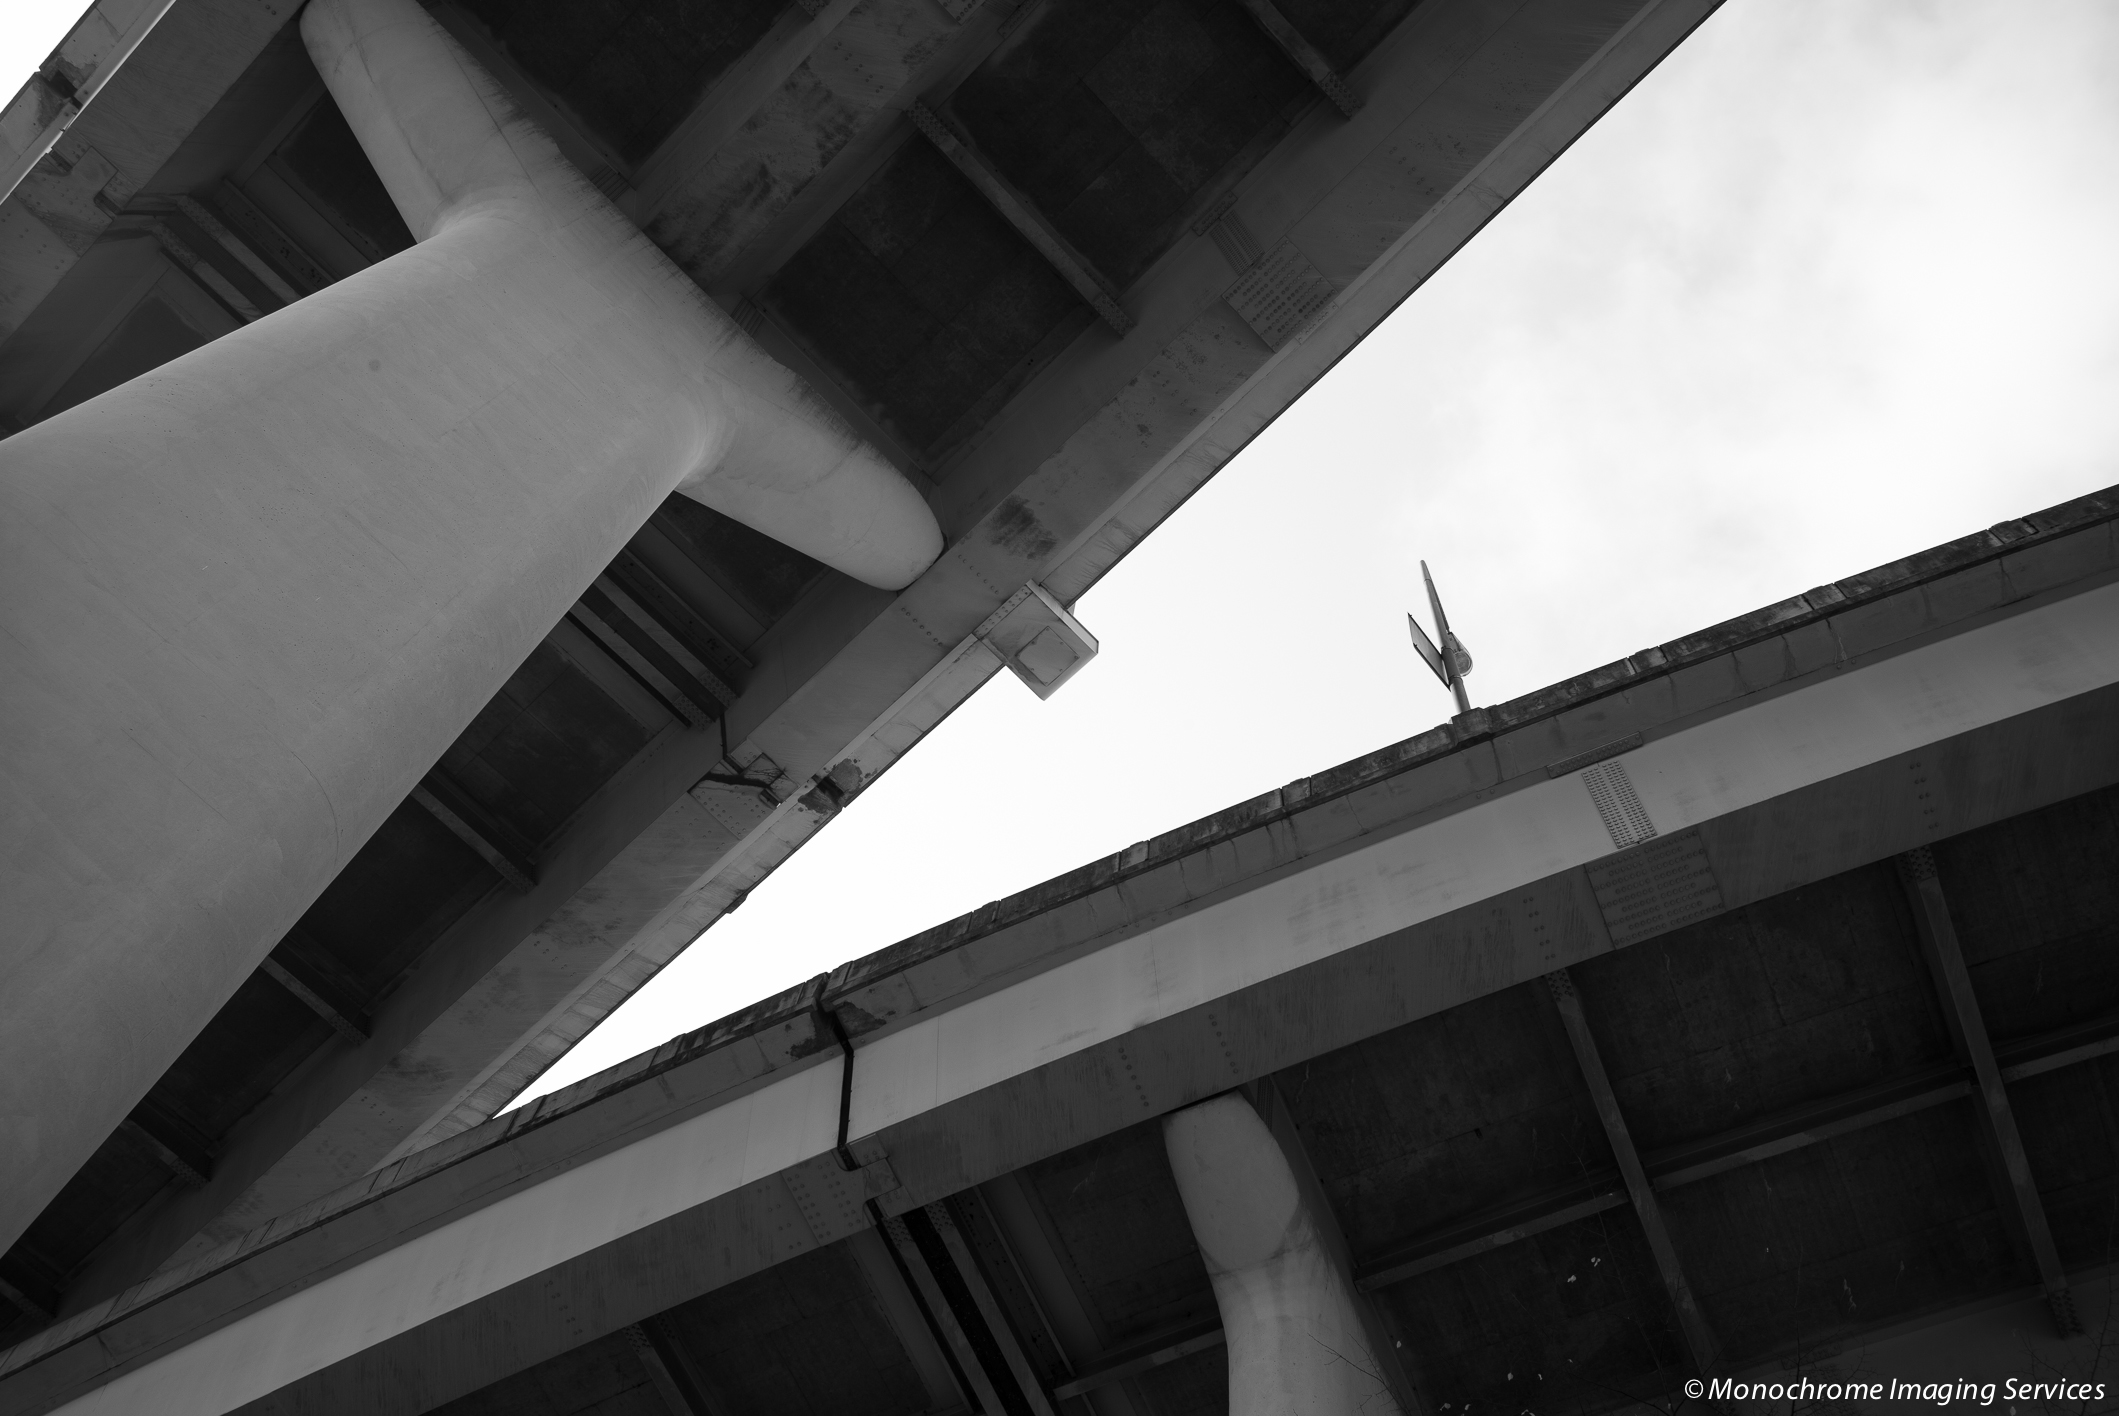
 This image was chosen to demonstrate the ability of the two sensors to capture a wide dynamic range.
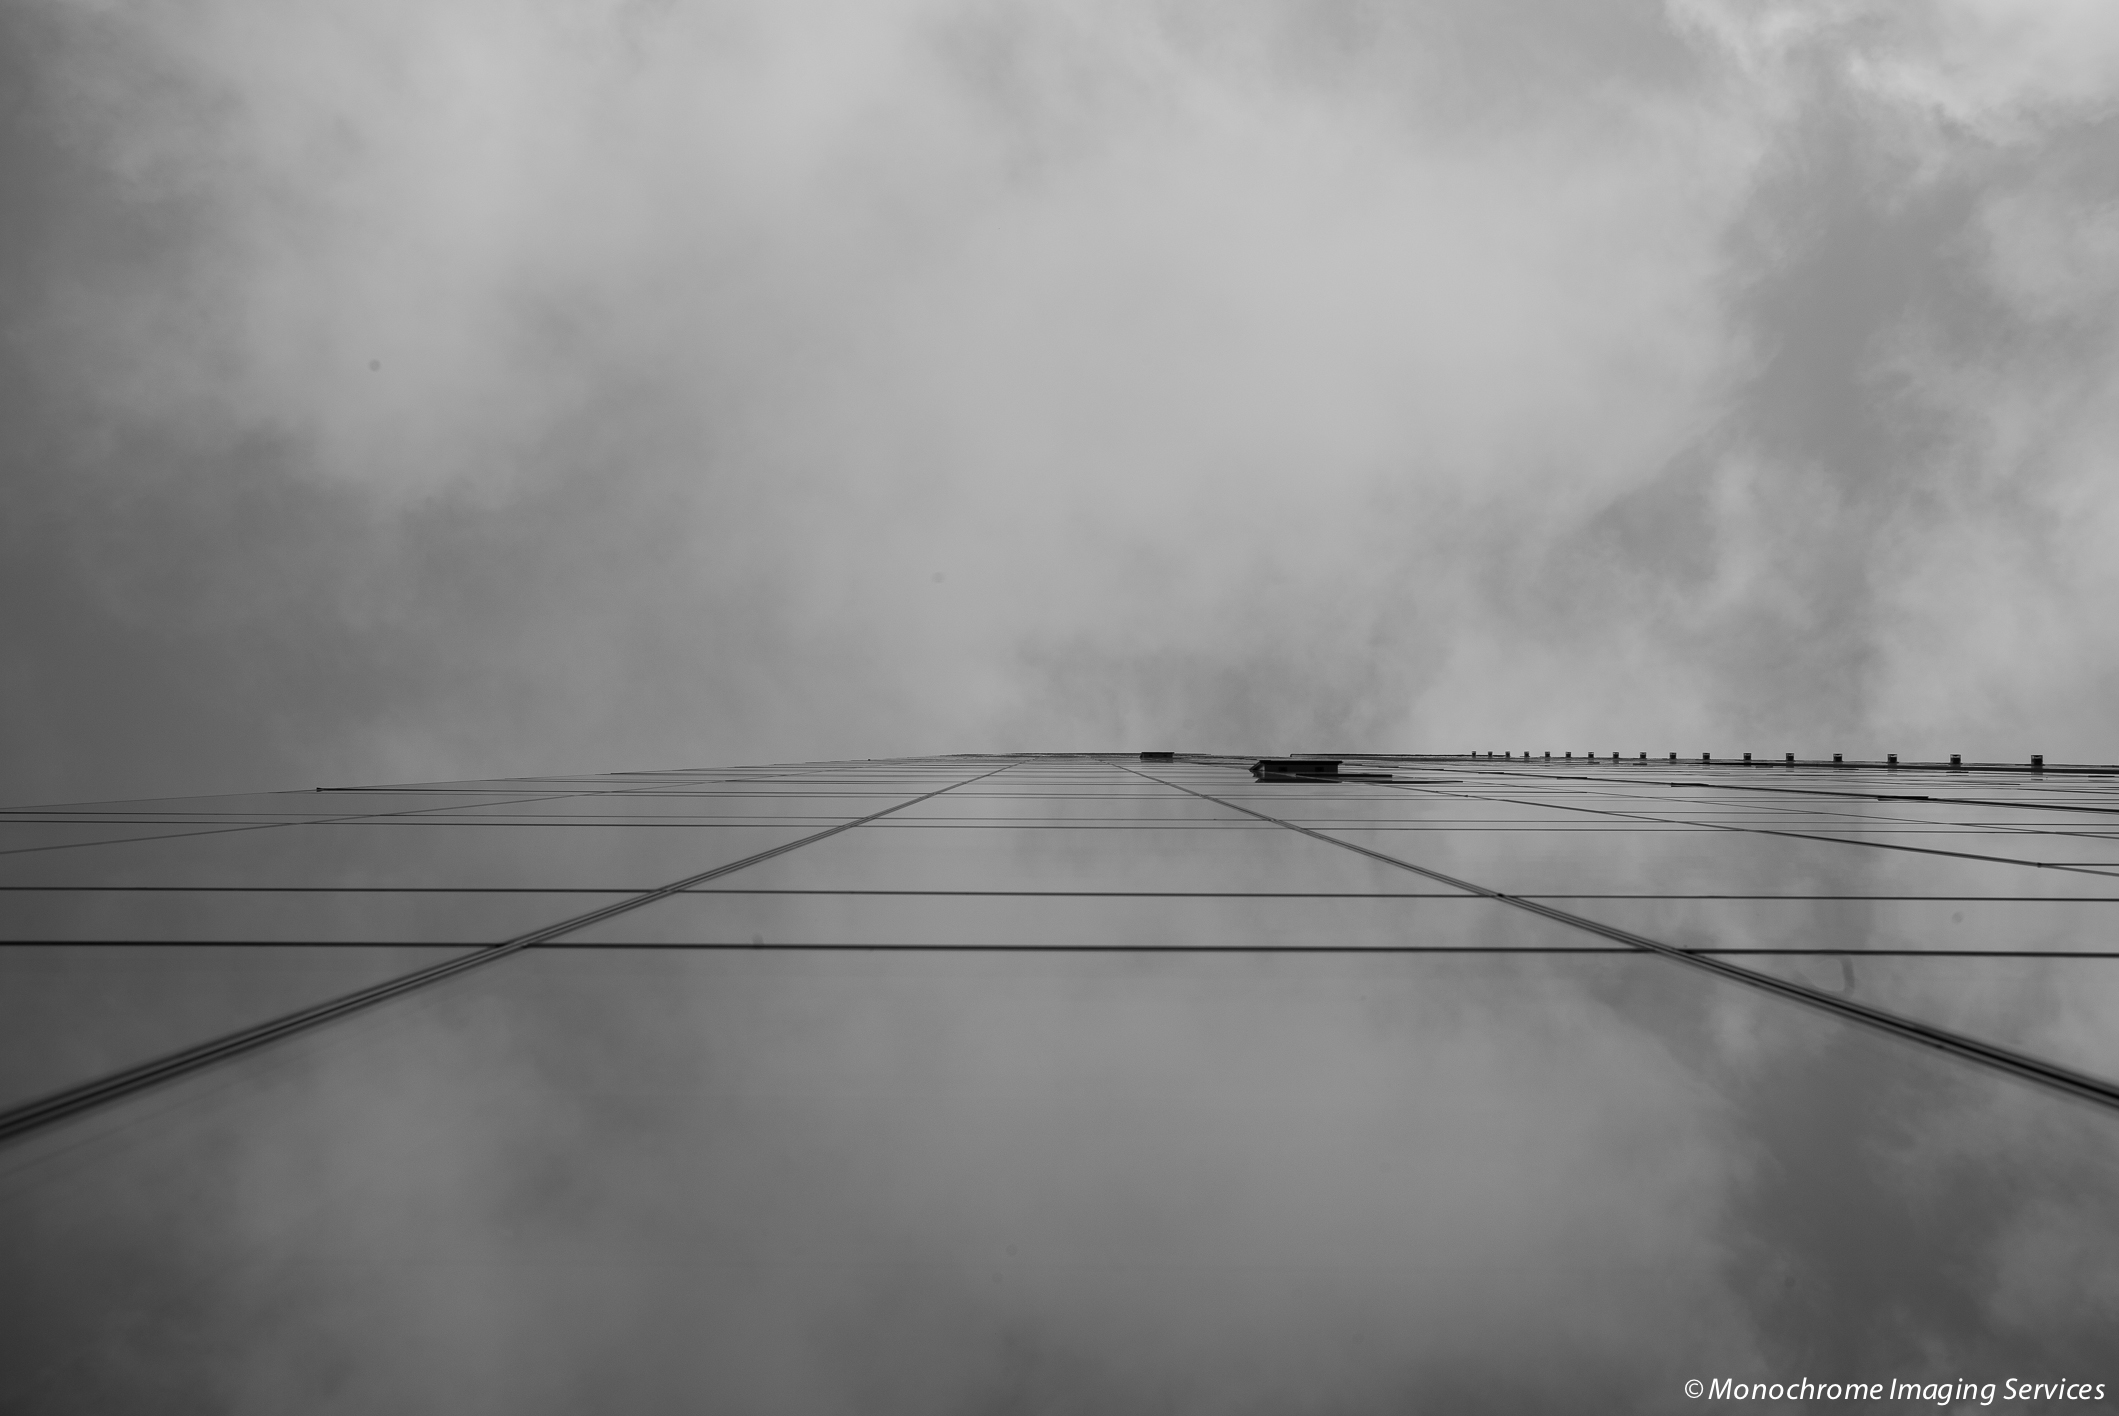
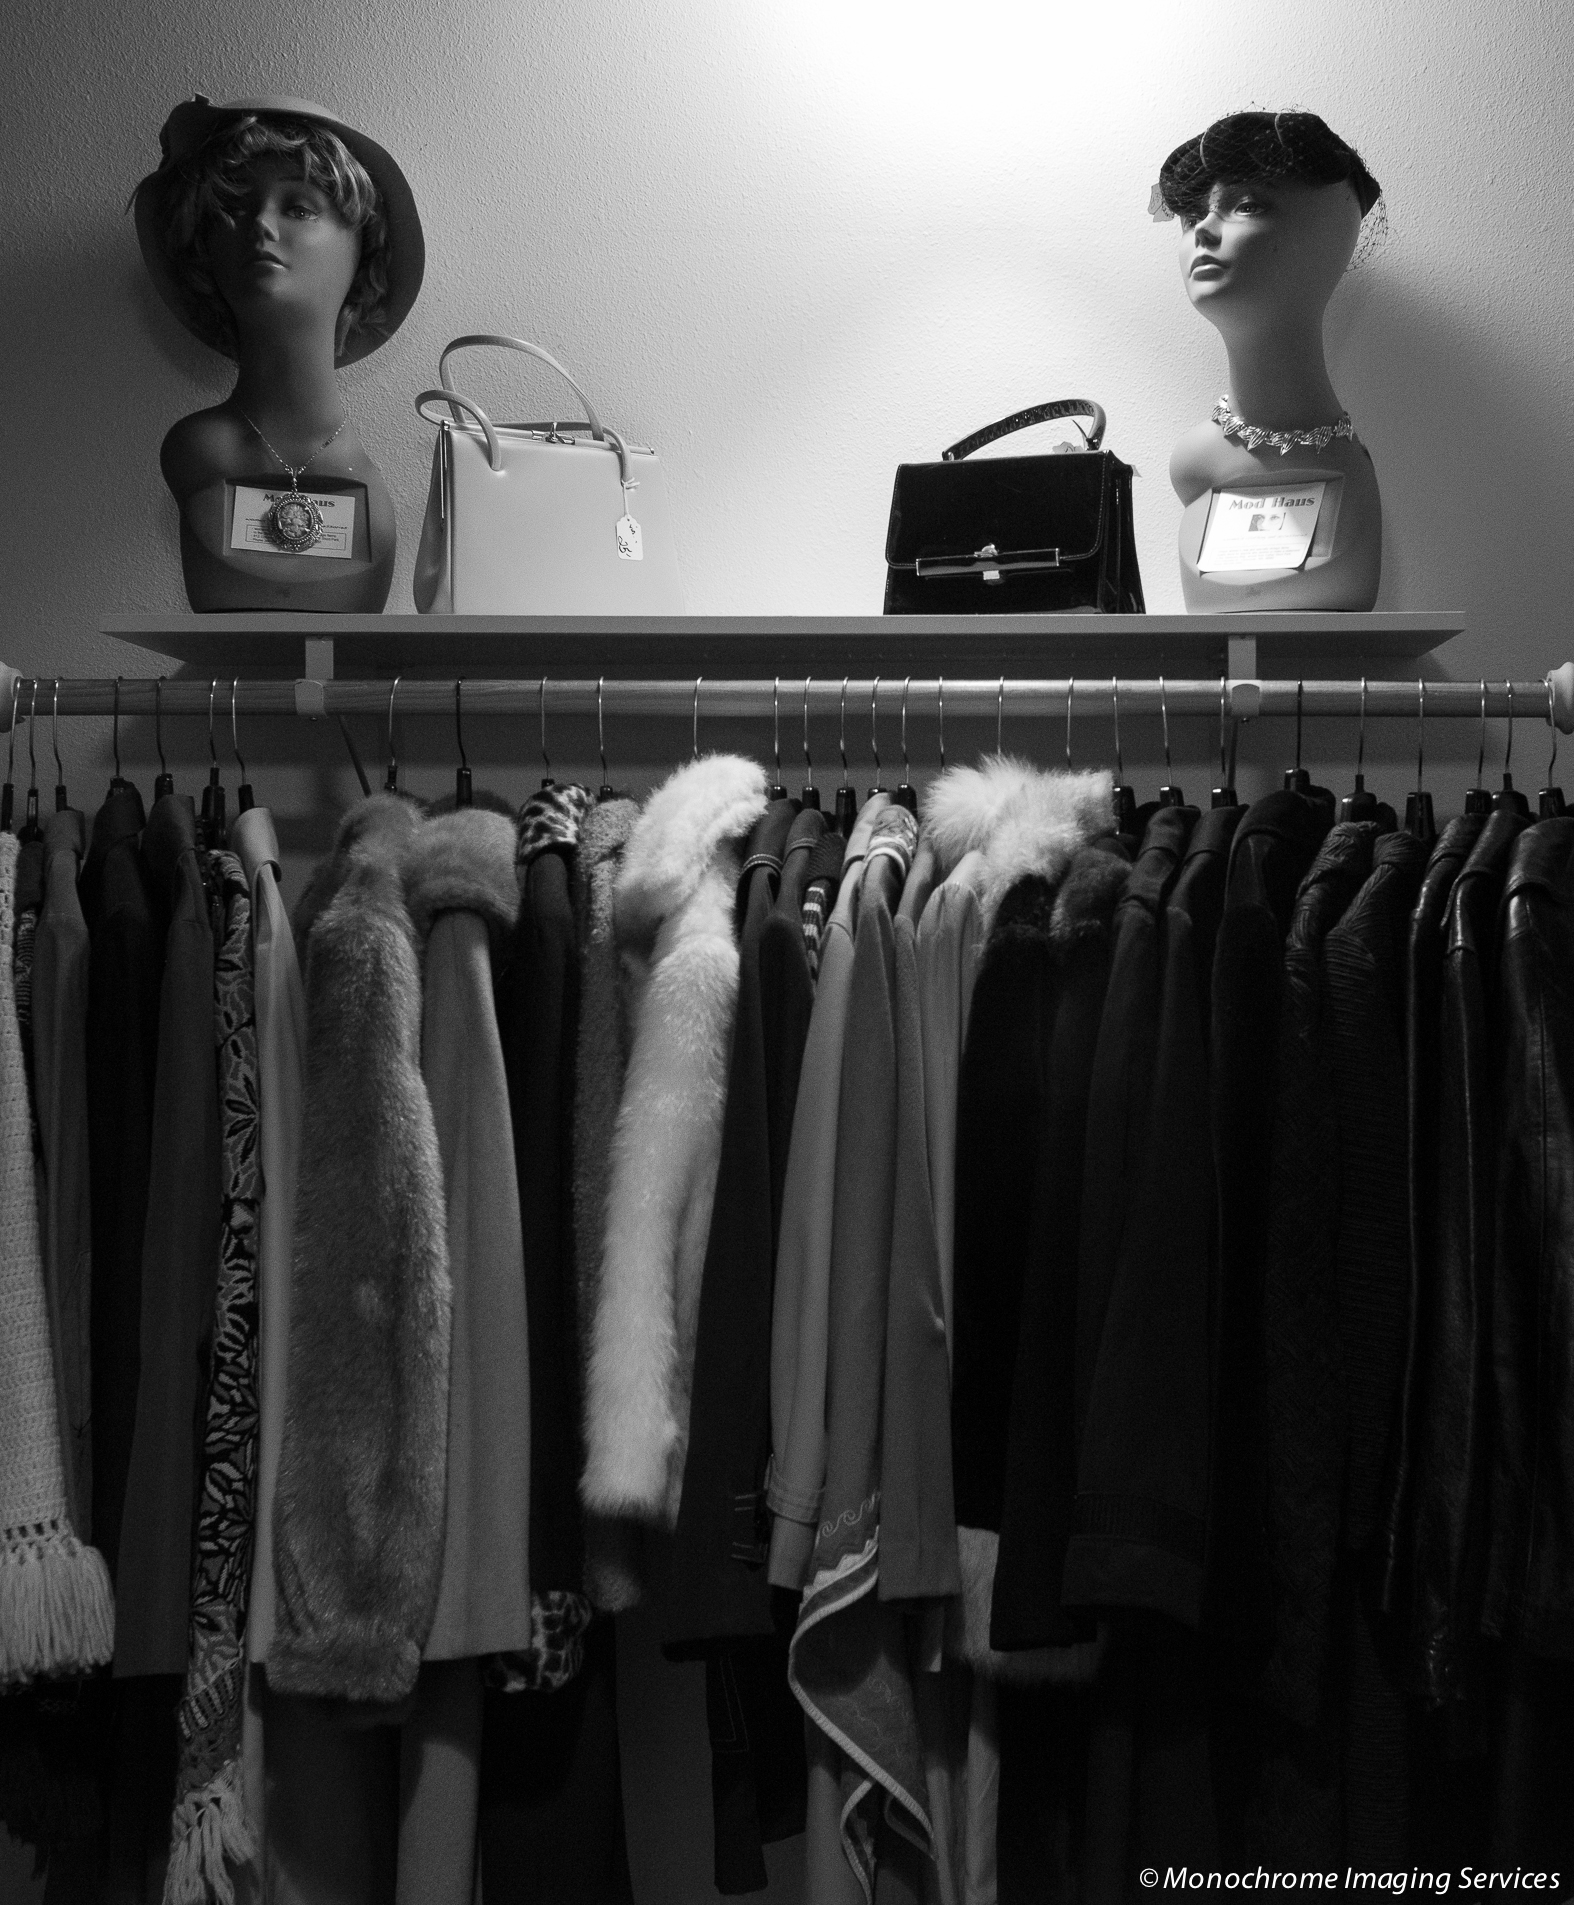
 This image was chosen because of its smooth tonal gradations, and to demonstrate the two sensors ability to transition smoothly between those tones.

The slider above shows a detail of the previous image. Slide the slider to the right to reveal the Leica image.
The following images were taken at ISO 3200, 1/30 sec, ƒ 8.


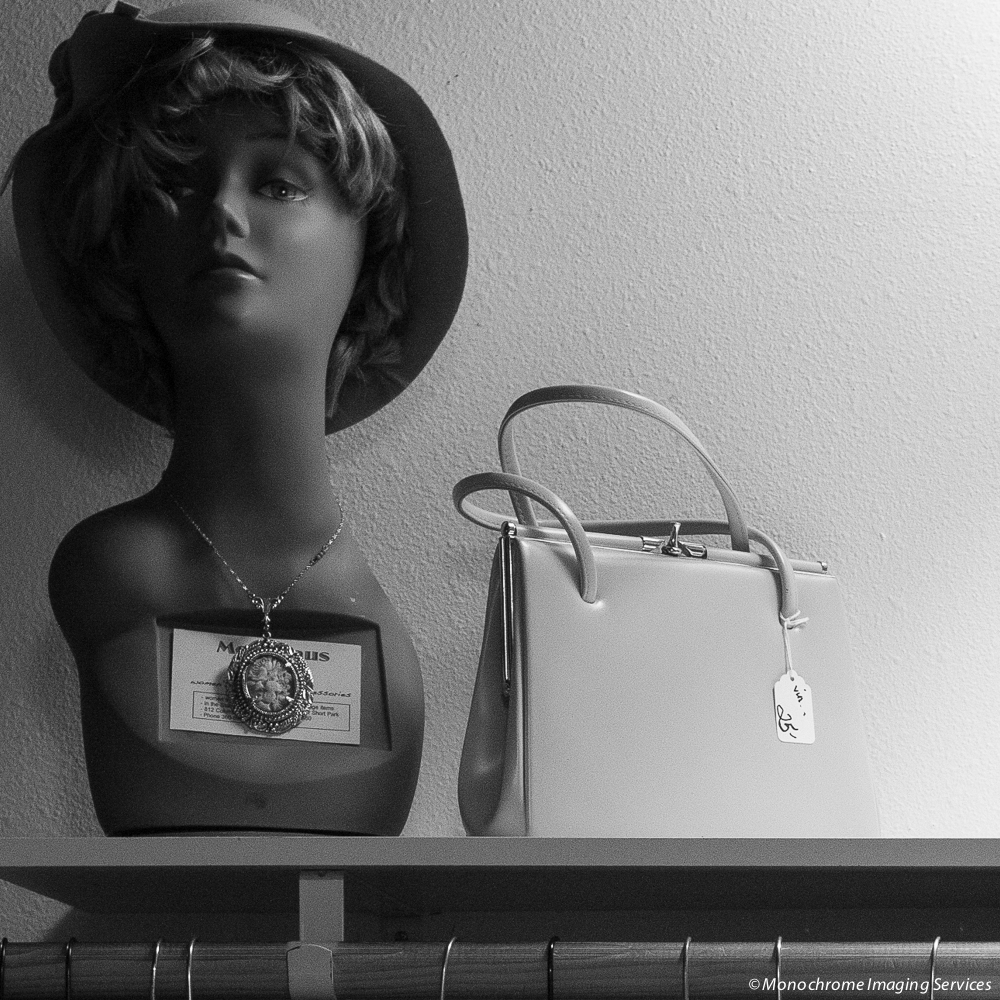
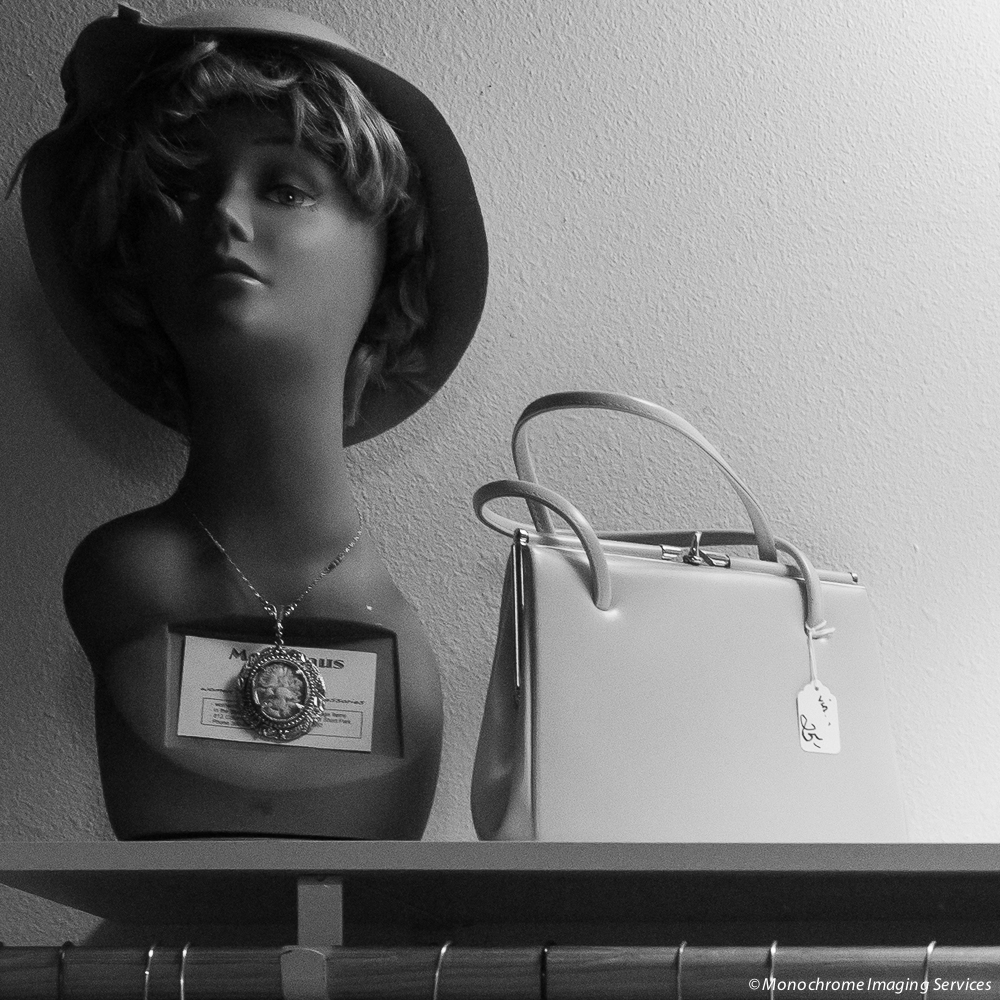
This ISO test shows that the Leica does very well at the higher ISOs, where the Sony processed in Lightroom shows noise in the shadows. I suspected that this was due to LR applying a de-mosaic algorithm to the file since LR “thought” is was a color file. I processed it using Raw Photo Processor set to ignore the color de-mosaic process that Lightroom applied to the image file. This did the trick, and the result is as good as the Leica (except that the Leica image is in sharper focus, since I missed that shooting the Sony image, and you can see it in the stitching of the handle on the purse). Look at the detail in the mannequin’s cheek in both images to see how each sensor performs in low light at 3200 ISO.
My Conclusion:
I refer to this converted Sony a7(m) as the Poor Man’s Leica. I coined this phrase because of the similarities between the two sensors, hence the resulting images, and not because of the cameras themselves. The Sony sensor seems to compete quite well against the Leica. There seems to be some differences regarding the in-camera processing, but those can be matched using post processing software. And if there were any differences in sharpness between any of the images here, it is most likely due to my not having used a rangefinder camera since high school.
In a few words…
I don’t see, personally, any reason to spend the money on the Leica when the converted Sony can perform as well. And you can have the Sony converted to full spectrum (VIS-NIR) as well. The Leica aficionados will cry foul here, stating that it’s all about the shooting experience, but for me it’s all about the finished product–I mean unless you label your images, who knows what tools you used. Having said that, a good tool does make the job easier and more pleasant. If Sony would only fix their menu system.
Afterthoughts:
A converted a7R-II(m) surpasses the Leica’s ability due to its larger pixel count, and its back-lit sensor technology, and that is why I did not use it in this comparison. However, the cost for a converted a7R-II is still quite lower than the Leica. I believe that the a7R-II(m) produces better images than the Leica, whereas the a7(m) produces images that are every bit as good as the Leica images. Either way, you get more for your dollar with a converted Sony of any model.
- I must say a little something about the lens used here for this test. This lens is probably one of the nicest lenses that I’ve used. Quality of build is superb, and the image quality, on either sensor, is phenomenal. And since there are lens adaptors for these lenses, you don’t need the Leica body to use a Leica lens. I’m currently saving my money.